
Oster Steamer Instruction Manual: A Comprehensive Guide
This manual offers detailed guidance for Oster steamer models 4711 & 5712, including safety, setup, usage, recipes, and maintenance instructions for optimal performance.
Oster steamers represent a convenient and healthy method for preparing a diverse range of foods. Utilizing steam, these appliances preserve essential nutrients often lost during traditional cooking methods like frying or boiling.
Models like the 4711 and 5712 are designed for ease of use, offering a simple way to cook vegetables, seafood, poultry, and even desserts. Accessing resources like the Oster Electric Steamer 5712 User Guide, available online, provides valuable insights.
Whether you’re a seasoned chef or a beginner in the kitchen, an Oster steamer can elevate your culinary experience, promoting both flavor and well-being. Manuals are readily available for download and streaming.
Understanding Your Oster Steamer Model (4711 & 5712)
Both the Oster 4711 and 5712 electric steamers share core functionality, focusing on efficient and healthy food preparation through steam. However, slight variations may exist in design and specific features.
The 4711 model, as detailed in available user manuals on platforms like Internet Archive, is a classic option. The 5712, also documented online, may offer updated features or a slightly different aesthetic.
Regardless of the model, understanding the components – base, trays, reservoir, and lid – is crucial. Accessing the correct user manual (available for free download) ensures you’re utilizing your steamer’s capabilities to the fullest, maximizing its performance and longevity.
Safety Precautions
Prioritize safety when operating your Oster steamer. Always ensure the unit is placed on a stable, heat-resistant surface, away from water sources.
Never immerse the steamer base in water or any other liquid. Exercise extreme caution when handling hot steam and heated food; use oven mitts or tongs to prevent burns.
Do not operate the steamer with a damaged cord or plug. Unplug the unit when not in use and before cleaning. Keep out of reach of children. Avoid touching hot surfaces. Refer to the full user manual, readily available online, for comprehensive safety guidelines and warnings to ensure safe operation.

Parts Identification
Your Oster steamer consists of several key components. The Steamer Base houses the heating element and controls. Steaming Trays, typically tiered, hold the food during the cooking process. The Water Reservoir provides the water converted to steam.
A secure-fitting Lid traps steam for efficient cooking, and a Condensation Cup collects excess moisture. Familiarize yourself with each part’s location and function. Refer to diagrams in the full manual (available via Internet Archive) for visual guidance. Understanding these components is crucial for proper assembly, operation, and maintenance of your Oster electric steamer.

Steamer Base
The Steamer Base is the central hub of your Oster steamer, containing the heating element responsible for converting water into steam. It features the power button and often, indicator lights to signal operation and when the water reservoir is empty.
Ensure the base is placed on a stable, heat-resistant surface before use. Avoid immersing the base in water; wipe clean with a damp cloth. Proper functioning of the base is vital for consistent steaming. Regularly check for any damage to the power cord and base itself to ensure safe operation, as detailed in the full user manual.
Steaming Trays
The Steaming Trays are designed with perforations to allow steam to circulate around the food, ensuring even cooking. Typically, Oster steamers include multiple tiers of these trays, maximizing cooking capacity.
Arrange food in a single layer on each tray, avoiding overcrowding to promote efficient steaming. These trays are usually dishwasher-safe for easy cleaning, but always refer to the full instruction manual for specific care instructions. Ensure the trays are securely stacked on the steamer base before operation. Proper tray arrangement is key to achieving perfectly steamed dishes.
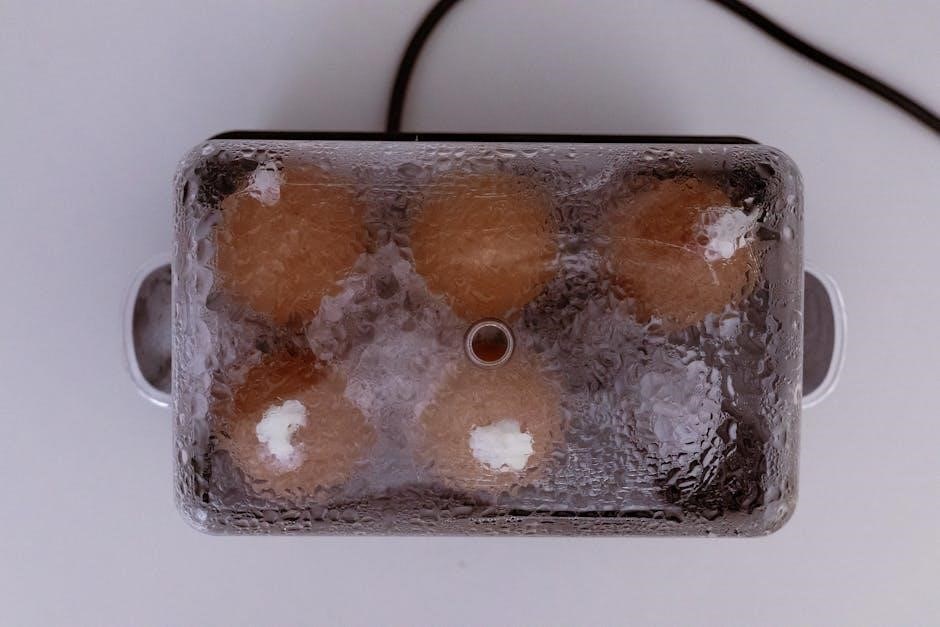
Water Reservoir
The Water Reservoir is a crucial component, holding the water that generates the steam for cooking. It’s typically removable for easy filling and cleaning. Always fill the reservoir with the recommended amount of water, as indicated in the instruction manual, to prevent dry-boiling and ensure optimal steaming performance.
Using distilled or filtered water is advisable to minimize mineral buildup and prolong the life of your Oster steamer. Regularly check the water level during operation, especially for longer cooking times, and refill as needed. Never operate the steamer without sufficient water.
Lid and Condensation Cup

The Lid is designed to trap steam within the steamer, ensuring efficient and even cooking. It often features a vent to regulate steam pressure and prevent excessive buildup. Ensure the lid is securely in place during operation to maintain consistent temperature and humidity.
The Condensation Cup, located underneath the steaming trays, collects condensation produced during the steaming process. Regularly check and empty the condensation cup after each use to prevent overflow and maintain hygiene. Proper lid sealing and condensation cup management contribute to a cleaner and more effective steaming experience.
Setting Up Your Oster Steamer
Before first use, thoroughly clean all removable parts – steaming trays, water reservoir, lid, and condensation cup – with warm, soapy water. Rinse and dry completely.
Place the steamer on a stable, heat-resistant surface away from water sources. Ensure adequate ventilation around the unit. Position the steamer base and correctly insert the water reservoir, confirming it’s securely locked into place; Assemble the steaming trays, stacking them within the steamer body. Finally, attach the lid, ensuring a proper seal for efficient steam retention.
How to Use Your Oster Steamer: Step-by-Step Instructions
Begin by filling the water reservoir to the desired level, ensuring it doesn’t exceed the maximum fill line. Arrange your food on the steaming trays, avoiding overcrowding to allow for even cooking. Stack the trays inside the steamer, starting with the food requiring the longest cooking time on the bottom.
Secure the lid and plug the steamer into a grounded electrical outlet. Select your desired cook time – refer to the steaming times guide for various foods. The steamer will automatically shut off when the water is depleted or the timer expires.

Filling the Water Reservoir
Carefully remove the water reservoir from the steamer base. Using a clean water source, fill the reservoir to the appropriate level, being mindful not to surpass the maximum fill line indicated. Overfilling can lead to water spillage during operation.
For optimal steaming, distilled or filtered water is recommended to minimize mineral buildup and prolong the steamer’s lifespan. Once filled, securely reattach the water reservoir to the steamer base, ensuring it’s properly seated. The steamer is now prepared for food placement and operation.
Arranging Food on Steaming Trays
Before steaming, ensure food is properly prepared – washed, peeled, and cut into uniform sizes for even cooking. Arrange food in a single layer on the steaming trays, avoiding overcrowding.
Overcrowding restricts steam circulation, resulting in unevenly cooked food. For delicate items, consider using the higher trays to prevent overcooking from direct heat. Place the trays securely into the steamer, ensuring they stack properly. Proper food arrangement is crucial for achieving perfectly steamed results every time, maximizing flavor and texture.
Steaming Times for Various Foods

Steaming times vary significantly depending on the food type and desired tenderness. Generally, vegetables like broccoli and carrots require 8-12 minutes, while root vegetables such as potatoes may need 15-20 minutes.
Fish typically steams in 10-15 minutes, and chicken pieces take around 20-25 minutes. Always check for doneness using a fork or thermometer. Refer to included recipe book for specific times. These are estimates; adjust based on quantity and personal preference. Consistent monitoring ensures perfectly cooked, healthy meals with your Oster steamer.
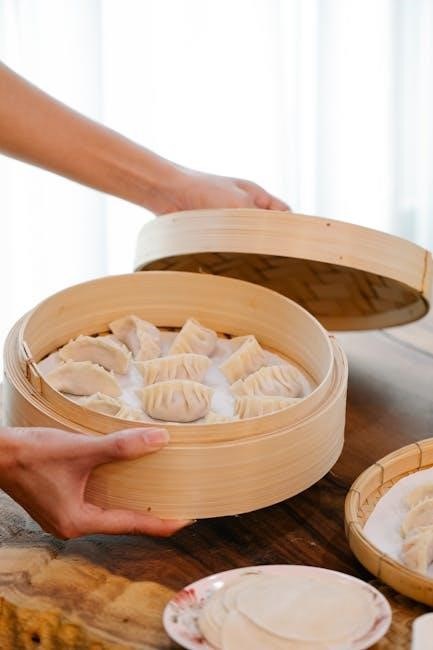
Recipes for Your Oster Steamer
Unlock a world of healthy cooking with your Oster steamer! The included recipe book provides a fantastic starting point, offering diverse dishes from steamed vegetables and fish to flavorful chicken and complete meals.
Experiment with seasonings and marinades to customize flavors. Consider steaming salmon with lemon and dill, or creating a vibrant vegetable medley with herbs. Online resources also offer countless steamer recipes. The steamer’s even heating ensures perfectly cooked, nutritious meals, making healthy eating both easy and enjoyable. Explore and discover your culinary creativity!

Cleaning and Maintenance
Regular cleaning ensures your Oster steamer’s longevity and optimal performance. Disassemble the unit after each use, carefully removing the steaming trays, water reservoir, and condensation cup. Wash all removable parts with warm, soapy water, rinsing thoroughly. Avoid abrasive cleaners.
Descaling is crucial to remove mineral buildup. Fill the reservoir with a mixture of water and white vinegar, steam for a cycle, then rinse completely. Ensure all parts are dry before reassembling. Proper maintenance guarantees years of healthy, delicious steamed meals!

Disassembling the Steamer
Before cleaning, safely disassemble your Oster steamer. First, ensure the unit is unplugged and completely cool. Carefully remove the steaming trays, lifting them straight up from the base. Next, detach the water reservoir by lifting it upwards; it may have a slight resistance. Finally, remove the lid and condensation cup.
Handle the components with care to avoid damage. Proper disassembly allows for thorough cleaning of each part, ensuring hygienic food preparation. Refer to the parts identification section if needed for visual guidance.
Washing Steamer Parts
After disassembly, wash all removable parts – steaming trays, water reservoir, lid, and condensation cup – in warm, soapy water. Use a non-abrasive sponge or cloth to avoid scratching the surfaces. The steamer base should be wiped clean with a damp cloth; never immerse it in water.
Ensure all soap residue is thoroughly rinsed away. Parts are generally dishwasher safe (top rack recommended), but check your specific model’s instructions. Dry all components completely before reassembling to prevent water spots and maintain hygiene.
Descaling the Steamer
Over time, mineral deposits can build up inside your Oster steamer, reducing its efficiency. To descale, fill the water reservoir with a mixture of equal parts white vinegar and water. Run the steamer through a full steaming cycle without any food.
After the cycle completes, discard the vinegar solution and rinse the reservoir thoroughly with fresh water. Repeat the process with plain water several times to remove any lingering vinegar taste or smell. Regular descaling (every 1-3 months, depending on water hardness) will prolong the life of your steamer.
Troubleshooting Common Issues
If your Oster steamer isn’t heating, ensure it’s properly plugged in and the power outlet is functioning. Check the water reservoir to confirm it’s filled to the appropriate level. If steaming is uneven, redistribute food on the trays for even exposure.
For mineral buildup, descale the unit as described in the maintenance section. If the steamer stops working mid-cycle, unplug it and allow it to cool before restarting. Persistent issues may require contacting Oster customer support for assistance.
Warranty Information
Oster warrants this steamer against defects in materials and workmanship for a specified period from the date of purchase. The warranty covers repair or replacement of the defective unit, at Oster’s discretion.
This warranty does not cover damage resulting from misuse, accidents, unauthorized repairs, or normal wear and tear. To claim warranty service, retain your proof of purchase and contact Oster customer support. Specific warranty terms and duration may vary depending on the region and model; refer to the separate warranty document included with your product.
Frequently Asked Questions (FAQ)
Q: My steamer isn’t producing steam? Ensure the water reservoir is filled and properly seated. Check the heating element for mineral buildup – descaling may be needed.
Q: Can I use vinegar to clean the steamer? Yes, a diluted vinegar solution is effective for descaling. Follow cleaning instructions carefully.
Q: Where can I find more recipes? The included manual offers recipes, and online resources provide additional options.
Q: Is the steaming tray dishwasher safe? Refer to the ‘Cleaning and Maintenance’ section for specific part washing instructions.
Where to Find Additional Resources & Manual Downloads
For further assistance and to access downloadable manuals, visit the Internet Archive (archive.org). Search for “Oster 4711 Electric Steamer User Manual” or “Oster Electric Steamer 5712 User Guide” to find available resources.
Manualzilla also hosts Oster steamer manuals. eBay may offer original recipe books for model 4711. Remember to verify the model number compatibility before downloading. These online platforms provide access to comprehensive guides, troubleshooting tips, and recipe ideas to enhance your steaming experience.