
The ShelterLogic 10×20 offers a durable, easy-to-assemble storage solution. Designed for versatility, it provides protection from the elements. Follow these instructions for proper assembly and usage.
Overview of the ShelterLogic 10×20 Shelter
The ShelterLogic 10×20 shelter is a versatile and durable storage solution designed for temporary use. With its 10×20 foot dimensions, it offers ample space for vehicles, equipment, or seasonal items. Constructed with high-quality materials, the shelter provides excellent protection from weather elements. Its lightweight yet sturdy frame ensures easy assembly and disassembly. While it is not intended for permanent use, proper anchoring and maintenance can extend its lifespan. Always follow the manufacturer’s instructions for assembly and anchoring to ensure safety and stability.

Preparation and Tools Needed

Preparation is key for a smooth assembly. Essential tools include a wrench, screwdriver, and pliers. Ensure all parts are accounted for before starting. Safety gear like gloves and safety glasses is recommended.
Essential Tools for Assembly
For a smooth assembly, gather essential tools: a wrench, screwdriver, pliers, and rope. A tape measure and level ensure accuracy. Safety gear like gloves and safety glasses is crucial. Proper anchoring tools, such as a hammer or drill, are also necessary. Organize all parts and hardware before starting. Having the right tools readily available will streamline the process and prevent delays. Always refer to the manual for specific tool recommendations to ensure a secure and proper setup.
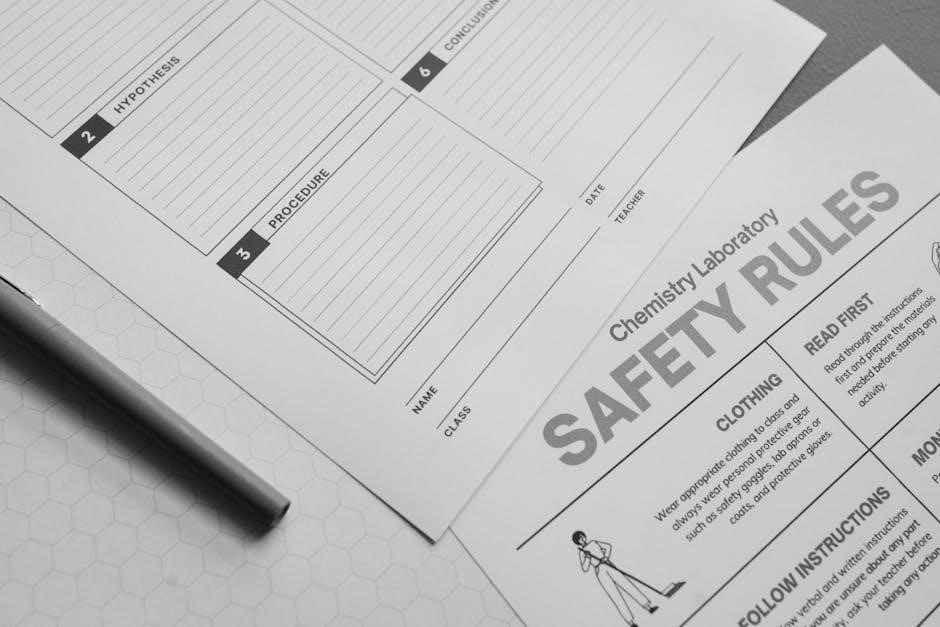
Recommended Safety Gear
Always wear essential safety gear during assembly to prevent injuries. Gloves protect hands from cuts and abrasions, while safety glasses shield eyes from debris. A hard hat is crucial for overhead protection, and steel-toe boots guard against heavy objects. Consider knee pads for comfort during prolonged kneeling. Ensure loose clothing and jewelry are secured to avoid entanglement. Keep a first aid kit nearby and avoid working in harsh weather conditions. Proper safety measures ensure a safe and efficient assembly process.

Unpacking and Inventory
Begin by carefully unpacking all components and verifying each part against the inventory list; Ensure all hardware, frames, and instructions are included before starting assembly.
Checking the Contents of the Box
Start by carefully unpacking each item and cross-referencing them with the provided inventory list. Ensure all hardware, frame components, and instructions are accounted for. This step is crucial to avoid missing parts, which could delay assembly. Pay attention to any labels or markings on the parts to ensure they match the manual. If any items are missing or damaged, contact customer support immediately to resolve the issue before proceeding. Proper verification ensures a smooth assembly process.
Verifying All Parts Are Included
Carefully review the inventory list provided in the manual to ensure all components are present. Check for hardware kits, frame sections, roof covers, and any additional accessories. Compare each item with the list to confirm nothing is missing or damaged. If any parts are incomplete or damaged, contact ShelterLogic customer support immediately. Proper verification ensures that assembly can proceed without interruptions and guarantees all necessary components are available for a successful setup.
Assembly Process
The ShelterLogic 10×20 assembly involves step-by-step frame construction, roof attachment, and door installation. Follow the manual carefully to ensure stability and proper structure.
Step-by-Step Frame Assembly
Begin by laying out the frame components. Attach the side rails to the base legs, ensuring all connections are secure. Next, connect the roof beams to the top of the frame, forming the structure’s skeleton. Use the provided bolts to tighten all joints firmly. Make sure the frame is square by measuring diagonally. Once the frame is assembled, proceed to attach the roof cover, ensuring a tight fit to prevent sagging or damage from wind and weather conditions.
Attaching the Roof Cover
Begin by laying the roof cover flat and aligning it with the frame’s top edges. Secure the cover using the provided elastic cords or straps, starting from the center and working outward. Ensure the fabric is tight and evenly spread. Use the included tightening mechanisms to eliminate slack and wrinkles. Avoid over-tightening, as this may damage the cover. Double-check that all edges are properly seated and the cover is uniformly taut for optimal performance and durability. This step is crucial for weather resistance and structural integrity.
Installing Doors and Entrance
Attach the door panels to the frame by aligning the pre-drilled holes with the corresponding hooks. Secure the doors using the provided hardware, ensuring a snug fit. Check that the doors swing freely and align properly with the frame. Tighten all bolts firmly but avoid overtightening. Install any additional door supports if included. Once in place, test the doors to ensure smooth operation and proper clearance. Make sure the entrance is secure and evenly aligned for optimal functionality and weather protection. Proper installation ensures easy access and durability.
Anchoring the Shelter
Proper anchoring is crucial for stability. Use bolted cement wedge lags for secure installation. Ensure the shelter is tightly anchored to withstand weather conditions. Consult the manual.
Importance of Proper Anchoring
Proper anchoring ensures the shelter remains stable and secure, especially in harsh weather. It prevents damage from wind, snow, and debris. A secure setup protects both the structure and its contents, maintaining integrity. Loose or improper anchoring can lead to collapse or shifting, compromising safety and functionality. Always follow the manufacturer’s guidelines for anchoring methods, such as using bolted cement wedge lags, to ensure optimal stability and longevity of the ShelterLogic 10×20 shelter.
Recommended Anchoring Methods
For the ShelterLogic 10×20 shelter, use bolted cement wedge lags for optimal stability. Ensure the structure is square by tying a rope diagonally from corner to corner. Measure from the intersection of ropes to all corners for accuracy. Securely anchor each leg to prevent shifting. Periodically inspect anchors for tightness. Keeping the cover tight and free of debris enhances durability. Proper anchoring ensures safety and longevity, protecting against wind, snow, and other environmental stressors.
Final Checks and Adjustments
Ensure the shelter is square by checking diagonal measurements. Tighten all bolts and ropes for a secure structure. Inspect the cover for proper fit and tautness.
Ensuring the Shelter is Square
To ensure the shelter is square, tie a rope diagonally from corner to corner. Measure the distance from where the ropes intersect to all four corners. If the measurements are equal, the structure is square. Use a tape measure to verify the length of all sides. If any side is uneven, adjust the frame by tightening or loosening the connectors. Proper alignment ensures stability and prevents damage from uneven stress on the frame and cover.
Tightening the Cover

Tightening the cover ensures optimal performance and durability. Start by checking all straps and ratchets for proper tension. If the cover is loose, adjust the ratchets evenly to maintain uniform tightness. It’s crucial to tighten the cover after anchoring to prevent any shifting during the process. Regularly inspect and tighten the cover, especially after harsh weather conditions. A tight cover prevents damage from wind and rain, ensuring your ShelterLogic 10×20 remains secure and stable for years to come.
Maintenance and Inspection
Regular maintenance ensures longevity. Inspect anchors, check for wear, and clean debris. Ensure all parts remain secure and functional for optimal performance and durability.
Regular Inspection of Anchors
Regularly inspect anchors to ensure stability. Check for looseness, corrosion, or damage. Tighten any loose connections and replace damaged parts immediately. Proper anchoring prevents structural issues and extends the shelter’s lifespan. Additionally, ensure all bolts and screws are secure. Inspect the anchor points after extreme weather conditions. Addressing potential issues early avoids costly repairs. A well-maintained anchoring system ensures safety and reliability. Periodic checks are crucial for maintaining the integrity of your ShelterLogic 10×20 shelter.
Keeping the Cover Tight
Ensuring the cover remains tight is essential for optimal performance. A loose cover can flap in the wind, causing damage or wear. Regularly inspect and tighten any slack areas; Use the provided straps and tensioning systems to maintain a snug fit. After installation, check the cover’s tautness, especially after weather events. A tight cover prevents water pooling and reduces the risk of tears. Proper tensioning also ensures the shelter remains stable and secure, maximizing its durability and effectiveness over time.

Troubleshooting Common Issues
Identify and address issues promptly to ensure your shelter’s longevity. Check for loose connections, uneven frames, or damaged parts. Adjustments may be needed after weather events.
Addressing Loose Fabric
Loose fabric can compromise the shelter’s structural integrity. Begin by inspecting the cover for any signs of wear or stress points. Ensure all straps and buckles are securely tightened. If the fabric remains loose, check the frame for proper alignment and tighten any bolts or connectors. Use a ratchet or wrench to ensure a snug fit. Regularly inspect and adjust the cover, especially after harsh weather conditions. Addressing loose fabric promptly prevents further damage and ensures optimal performance of your ShelterLogic 10×20 shelter.
Dealing with Snow and Debris
Regularly remove snow and debris to maintain the shelter’s structural integrity. Use a soft brush or broom to gently clear the roof, avoiding sharp tools that may damage the fabric. Inspect the cover for tears or abrasions after cleaning. Tighten any loose straps or buckles to ensure the fabric remains taut. Proper anchoring is crucial to withstand snow loads. Periodically check anchors for stability and tighten as needed to prevent shifting or collapse during harsh weather conditions.

Safety Considerations
Always follow safety guidelines during assembly and use. Ensure the shelter is properly secured to withstand weather conditions. Avoid use during extreme winds or heavy snowfall.
Best Practices for Assembly
Start with a level surface and organize all parts before beginning. Follow the manual step-by-step to ensure proper frame alignment. Use recommended anchoring methods to secure the shelter. Tighten the cover regularly to prevent sagging. Avoid loose fabric, as it can cause damage. Keep the shelter clear of debris and snow. Stay cautious of sharp pole ends during assembly. Periodically inspect anchors for stability and tighten as needed.
Weather Conditions for Safe Use
Avoid assembling or using the shelter in extreme weather like heavy rain, strong winds, or thunderstorms. Ensure the shelter is securely anchored to withstand wind loads. Regularly inspect the structure after harsh weather conditions. Clear snow and debris promptly to maintain cover integrity. Proper anchoring and a tight cover are crucial for stability. Avoid using the shelter in sustained winds above 50 mph. Always follow manufacturer guidelines for weather-related safety and maintenance.
Proper assembly, anchoring, and maintenance are essential for the longevity of your ShelterLogic 10×20 shelter. Regular inspections ensure safety and durability. Keep the cover tight and clear of debris to maintain structural integrity. Always follow the manufacturer’s guidelines for weather conditions and assembly. By adhering to these instructions, you can enjoy a reliable and durable storage solution. Remember, a well-maintained shelter performs better and lasts longer, providing protection for your valuables through various weather conditions.